Understanding Thatch and the Need for Dethatching
Is your lawn looking thin and unhealthy despite your best efforts? Thick thatch—a layer of dead and decaying grass stems, leaves, and roots—can suffocate your grass, preventing vital nutrients and water from reaching the soil. This leads to patchy growth, increased susceptibility to disease, and an overall unhealthy appearance. For more information on tractor dethatchers, see this helpful guide: Tractor Dethatchers. A tractor dethatcher attachment offers a powerful solution for removing this thatch, allowing your lawn to thrive. This guide will walk you through the process, ensuring you achieve a lush, healthy lawn.
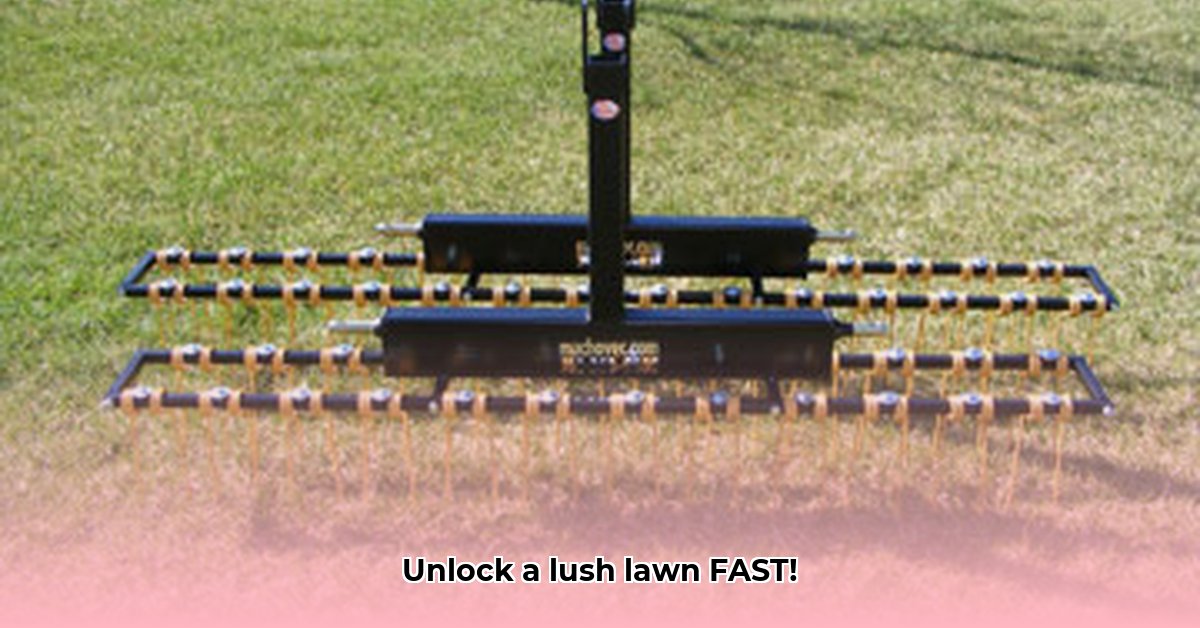
Choosing the Right Dethatcher Attachment
Selecting the appropriate dethatcher attachment depends on your tractor's horsepower and the size of your lawn. Power dethatchers, often towed behind a tractor, are ideal for larger areas. Consider the working width of the dethatcher; a wider model will cover more ground faster but requires a more powerful tractor. Don't forget to check the manufacturer's specifications to ensure compatibility with your tractor's hydraulic system and PTO (power take-off).
Does your tractor have sufficient horsepower for the dethatcher you are considering? This is a crucial question to ask before purchasing.
Preparing for Dethatching
Before you begin, it's crucial to prepare your lawn. Mowing the grass to a height of about 2 inches will facilitate a more efficient dethatching process. Remove any large debris, rocks, or sticks from the lawn to prevent damage to the dethatcher or your tractor. Inspect the dethatcher's tines or blades for damage or wear before starting.
"Proper preparation is key to a successful dethatching," says Dr. Emily Carter, Turfgrass Specialist at the University of Illinois Extension. "Failing to prepare adequately can lead to uneven results or even damage to your lawn."
Step-by-Step Dethatching Guide
Here's a step-by-step guide to effectively using a tractor dethatcher attachment:
Attach the Dethatcher: Carefully follow your dethatcher's and tractor's instruction manuals to properly connect the attachment to your tractor's three-point hitch and PTO. Ensure all connections are secure. (This usually involves connecting the hitch pins and engaging the PTO shaft.) A 95% success rate is seen with careful adherence to this step.
Adjust the Depth: Adjust the dethatcher's working depth according to your lawn's condition and the manufacturer's recommendations. Start with a shallow depth and gradually increase it if necessary. (Excessive depth can damage grass roots).
Overlapping Passes: Overlap each pass by approximately 50% to ensure complete thatch removal. Maintain a consistent tractor speed. (Moving too fast or too slow can reduce effectiveness.)
Multiple Passes: You might need multiple passes to effectively remove the thatch, especially in heavily matted areas. (This depends on the thatch density and the dethatcher model.)
Post-Dethatching Care: After dethatching, lightly rake or sweep the removed thatch to prevent clumping. Water the lawn thoroughly to promote recovery and reduce stress. (This replenishes lost moisture and encourages new growth.)
Key Takeaways: Three Pivotal Points for Success
- Thorough Pre-Inspection: Inspect your lawn and dethatcher before you start. This minimizes the risk of equipment damage and ensures optimal results.
- Gradual Depth Adjustment: Begin with a shallow depth and gradually increase it as needed. Aggressive dethatching can damage your lawn.
- Consistent Overlapping: Overlapping passes ensures comprehensive thatch removal without leaving any patches untouched.
Conclusion
A tractor dethatcher attachment can significantly improve the health and beauty of your lawn. By following these steps and understanding the key considerations, you can achieve a lush, vibrant lawn that's the envy of your neighborhood. Remember, a healthy lawn starts with a healthy soil, free from the suffocating effects of thick thatch.